
Enlargers vs Scanners
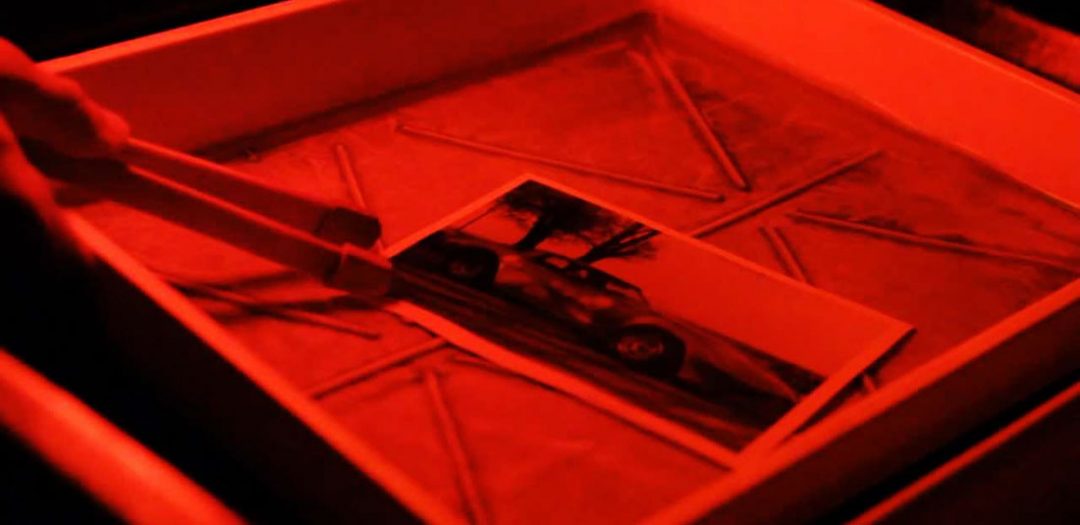
Enlargers (wet print) or go for the convenience of scanning and inkjet? Well, first we know that inkjet printing (giclee’) has come a long way, both in archival properties and problems usually associated with inkjet. (metamerism, etc.)
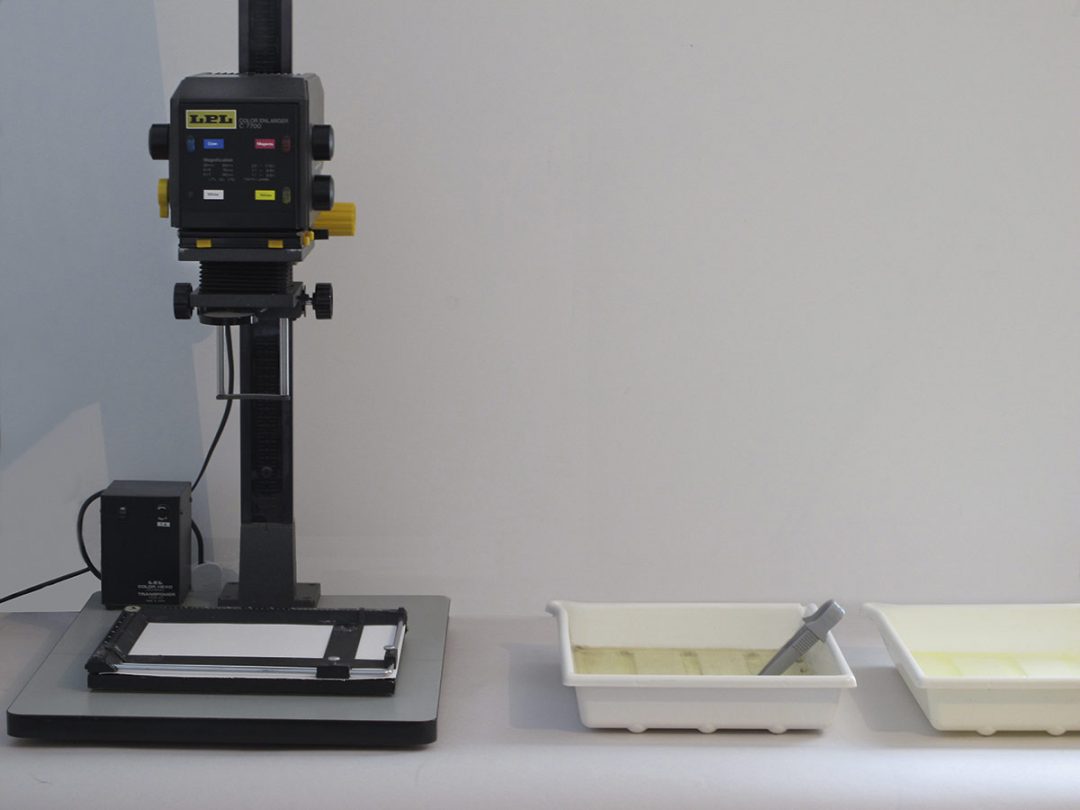
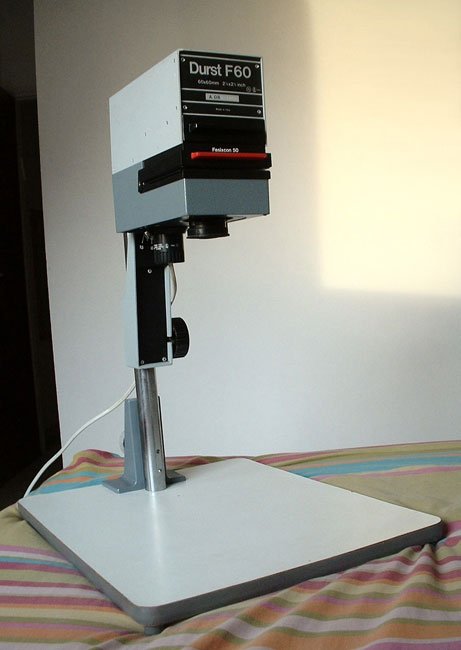
First let’s concentrate on the enlargers; condensers vs diffusion. Something that use to invite great disagreement.
Condenser enlargers have one or more large, heavy glass lenses incorporated below the lamp house and above the negative carrier and enlarging lens. These condenser lenses are absent in what we will term here a “diffuse” enlarger.

The Difference?
The main difference in a condenser enlarger is the directional nature of the light arriving at the enlarger lens. It is collimated by the condenser, so it is all traveling in the same direction. This means the silver particles in denser portions of a negative can block light from arriving at the easel, both by absorbing it and scattering it. The light in a diffusion enlarger is already scattered and omnidirectional when it arrives at the same point and further scattering by the emulsion is irrelevant. Net result is, darker areas of a negative “block” more image-forming light when inserted in a condenser enlarger: The negative behaves as though it were higher contrast.
It’s important to note that this only happens with projection printing, not contact printing, and only with traditional black- and-white negatives containing particulate silver, not with chromogenic or color negatives. Hence, the belief that condensers attain sharper images in black & white.
The degree of contrast enhancement depends on details of the enlarger’s construction. Typically a negative that prints well on a grade 2 paper in a diffuse enlarger may require a paper grade of 1 or even 1⁄2 to produce a print of the same overall contrast in a condenser enlarger. The alternative, of course, is to shorten the development time for a negative destined to print in a condenser enlarger so that it has less contrast to begin with. And herein lies much of the confusion.
Making adjustments
Manufacturers’ time-temperature charts for film development invariably list values intended to produce a Contrast Index (CI) of about 0.58—which is appropriate for printing in a diffuse enlarger, not a condenser. Sometimes they mention this qualification somewhere in the fine print, sometimes not. A general guide is a CI on the order of 0.42 is more appropriate for film to be printed through condenser optics.
We have encountered countless individuals who claim their film is always way too contrasty despite their care in following development recommendations. “Do you print with a condenser enlarger?” “Yes,” they say, “but what does that have to do with anything?” And the conversations go from there. The CI of 0.58 is simply the wrong target value. It’s correct for DIFFUSION enlargers, not condensers. All these images images were done on “diffusion enlargers”.
Condenser CI
When we do meet people with condenser enlargers who develop their film to CI 0.58 (per a quick reading of most developer instruction sheets), we encourage them to shorten their development times by, as a first cut, 25%. The result is consistently a better fit to average paper grades. But the story doesn’t end here.
Decrease the development time to drop CI and real film speed drops also. Film speed will decrease nearly a full stop as CI drops from .58 to .42. If film developed to CI 0.58 for diffuse printing, provides good shadow detail when it is rated at ISO 200. That same film is then better rated at only ISO 100 if it is to be developed to CI .42 for condenser printing. This may be the biggest single penalty for using a condenser: All the world’s films are nearly a stop slower than for those who print with a diffusion enlarger.
The Myth
“Condenser enlargers make sharper prints.” THEY DON’T. However, the print will be more contrasty if set as a typical diffusion enlarger. Just use less contrast paper, or reduce it in the contrast filter. (variable contrast paper)
As a general rule, expose condenser prints about 2/3 stop less and develop about 25% less.
Now, why should you do this as oppose to scan and print on inkjet? Look at the best inkjet, and then compare to a fiber based print. What many people don’t take into account when printing, is the scan step. Even if sending out to print “wet”. There is a reason collectors and museums prefer the “human interaction weighted” fiber based darkroom prints over any giclee’,…ever. Despite the “science” purported by Wilhelm and others. There’s no need to argue with anyone. Trust your eyes.
In fact, let’s get back to REAL photography. Like when a print was made archivally by a human being. Not a machine. Collectors will appreciate it 100 years from now. Think of it like having a Picasso painting as opposed to a Picasso poster. Human touch is still at a premium. At today’s prices, enlargers and darkroom equipment is a steal. And,…I’ll say it again. To quote Magnum’s master printer, Pablo Inirio,…“Collectors and galleries still want [darkroom] prints on fiber paper—they just like the way it looks,”. In the end, it’s really that simple.
When people see a film image by me on the internet, they all seem “horrified” by my revealing it’s a flatbed scanned print. But when you consider only the print is the “completed” image, (i.e., not the negative), it should make perfect sense to most people. In the end, this article is not meant to berate anyone, or disparage modernity. If your workflow accomplishes your goals, then you are successful in your endeavors. There is plenty of room in this world for both oil painters and acrylic painters. Ya picks your poison,…and live with it. 😀