
Film Decisions
The biggest problem with film photography is the decisions you’ll have to make when it comes to printing. And decisions there will be. Do you continue onward using a wet darkroom or go to a hybrid workflow? Do you even have the space for a wet darkroom? Do you listen to the Wilhelm Institute and their claims of twice and triple the archival qualities of the new Giclee’, (inkjet), prints with the newest inks and papers? And in the end, what about Instagram, Pinterest and your website? After all, disseminating your work is of the utmost importance. Maybe you could just scan prints for web use. As a dedicated analog photographer, that’s a lot to wrap your mind around.
Well, excluding use for small web presentations, most photographers and experts are of the opinion that scanning prints are out. I’ve actually had success scanning prints for web use,….but matching the paper to scanner has to be correct. No, the scanning pundits say film is the only way to go. (however,…see below)
Flatbeds vs Dedicated
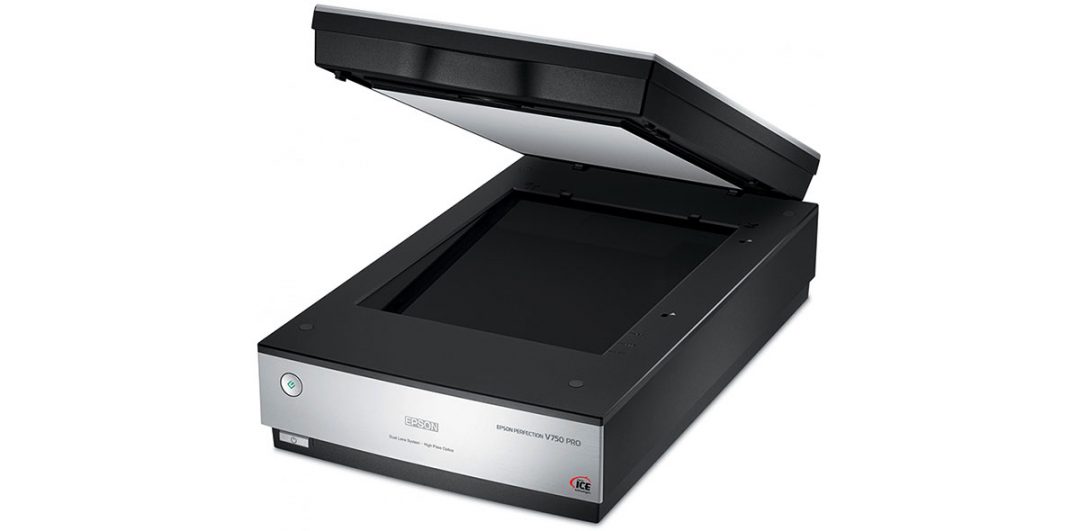
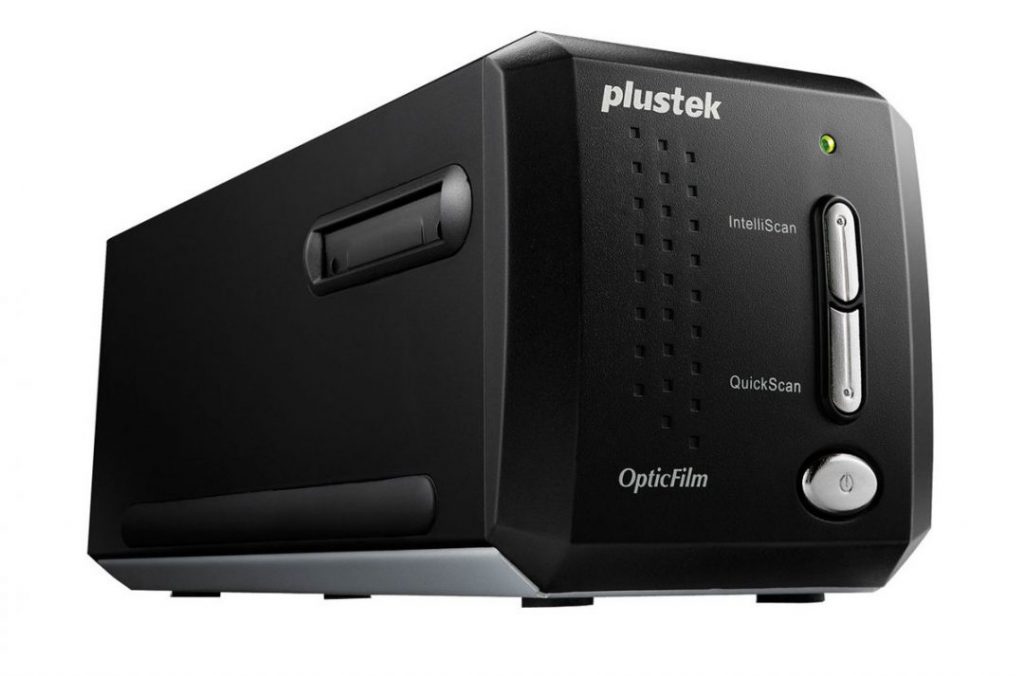
When it comes to film dedicated scanners, like Nikon and Plustek, they were always king of the hill. Especially for 35mm format. Or maybe you should just make the commitment on a vintage drum scanner or $25K Hasselblad Flextight X5 Scanner. But the fact is, the outputs from an Epson 750 or V850 are so close, (even a V500 or V600), that it’s become a toss-up. A Nikon 9000 Coolscan, (and Silverfast software), does have an edge when it comes to 35mm. As I’m sure does any drum scanner. But even at 35mm, you’d be hard press to tell the difference in print. And I doubt even the most discerning eye could differentiate when using Medium and Large format film. I couldn’t. (although medium format was used in that test) Technology in these newest flatbeds have come a long way. (I’m using Epson examples, but I’m sure the Canon scanners are equally formidable)
My real point is not if a $25K machine is better, (I’m sure it is in some ways), but if a simple backlit flatbed would in fact be able to do the job, and is within the reach of most photographers. Plus, a good scanner and good printer is probably a lot cheaper than setting up a darkroom. This is a very personal decision to be made by each photographer. With that caveat, I will say I have produced a 24″ x 36″ print in the darkroom, (turning the enlarger and pinning the paper to a wall), and also printed that size with an HP 44″ wide printer. While they are admittedly different 35mm images, the HP B+W image was much easier to produce. That said, there is no equivilent to a fiber based darkroom print. Which is why almost all serious galleries and museums prefer them.
A Hybrid Workflow
It was almost sad for me to dismantle my darkroom and admit to myself that even the biggest of photographers were now “hybrid”. Maybe not all, but most. So, let’s just assume you have decided to become a “hybrid” shooter. Still recording all the fine grain details and nuances of film, but admitting that it’s a “digital world” and that the final step will have be digital to exist in an iPhone world. And that you’re not sending out your film to be scanned. (another option)

There are many paths to this end. This is but just one simplified road map to achieving digital publishing along with archival prints. You’ll need the following;
You can change brands and models,…this is just what I use in my hybrid workflow. . Just remember, the scanner must have a light source lid big enough to accommodate your film size, and the printer should use archival inks. Like Epson’s Ultra Chrome, or HP’s and Canon’s equivalent.
- Film Scanner
2. A computer
3. Developed film
4. Cotton gloves
5. Microfiber Cloth
6. Film Holder (most photo scanners come with them)
Ultrachrome K3 and B+W
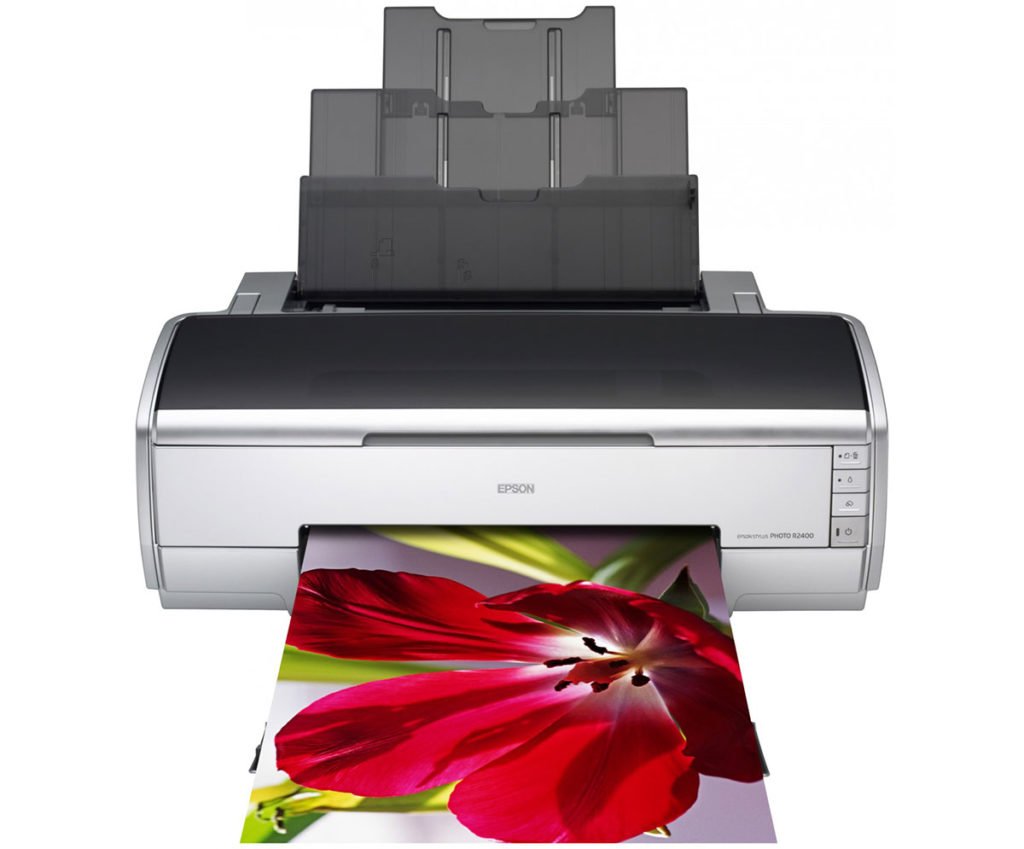
I just use an Epson Pro 4800, because of the ink, which is an Ultrachrome K3 Pigment ink printer. It’s output, (max 17″ x 22″), is enough for me. Only because I send out anything larger. Due to the price of ink, and the fact that most of my stuff will go to halftone screen or web anyway, I don’t need a larger printer. And it has the larger ink tanks. But if you need larger, you can get the 7800 and 9800, which are 24″ and 44″ wide respectively. The K3 stands for 3 color black ink tanks, which is a boon for us black + white guys. An R2400 is also available at 13″ wide that uses the same inks,…in smaller tanks. I can’t keep up with all of Epson’s, Canon’s and HP’s printers. But my printer provides exceptional prints. Especially B+W. Hence,….”if it ain’t broke, don’t fix it.” While I’m sure there are newer printers available,…maybe faster or wireless or quieter, I’ve never seen one that does better than mine. I’ve heard Canon Pixma’s are quite good. And for very large format, (24″ and 44″), the HP’s are hard to beat at their price points. But that’s all anecdotal to me.

Scanning Pitfalls
Dust is not your friend! Not in a wet darkroom, and not in a scanning environment. So the dust issue is equally important, and is a wash as far as the darkroom vs. scanning debate. Clean, clean, clean. Clean the scanner bed, clean the scanner light source, always wear cotton gloves, and always store your negatives in archival poly sleeves. I use Print File’s archival binder sheets. The 6 frames with 6 row sheets! Why they make 5 frames with 7 rows is beyond me. Plus every scanner loader I’ve seen holds 6 frames. So, you want your strips to have 6 frames on them. (35mm) I can not emphasize enough the importance of a clean scanning environment. Spotting scans is no fun and mostly a waste of time at the back end of the process. A wetting agent and dust free environment when developing and drying film will be the most economical use of your time in the end.
The Negative Holder
The ones that are given out with most photo scanners, flatbed or otherwise, are sufficient but sometimes a bit finicky. Depending on manufacturer. But what is most clear: Film, besides being clean, must be absolutely flat! The depth of field of a scanner is not much. Any curvature in the film will be problematic in getting a scan that is sharp across the whole frame. A trick I use with film that has too much curl is placing it under a heavy book for a few days. In their protective sleeves, of course.
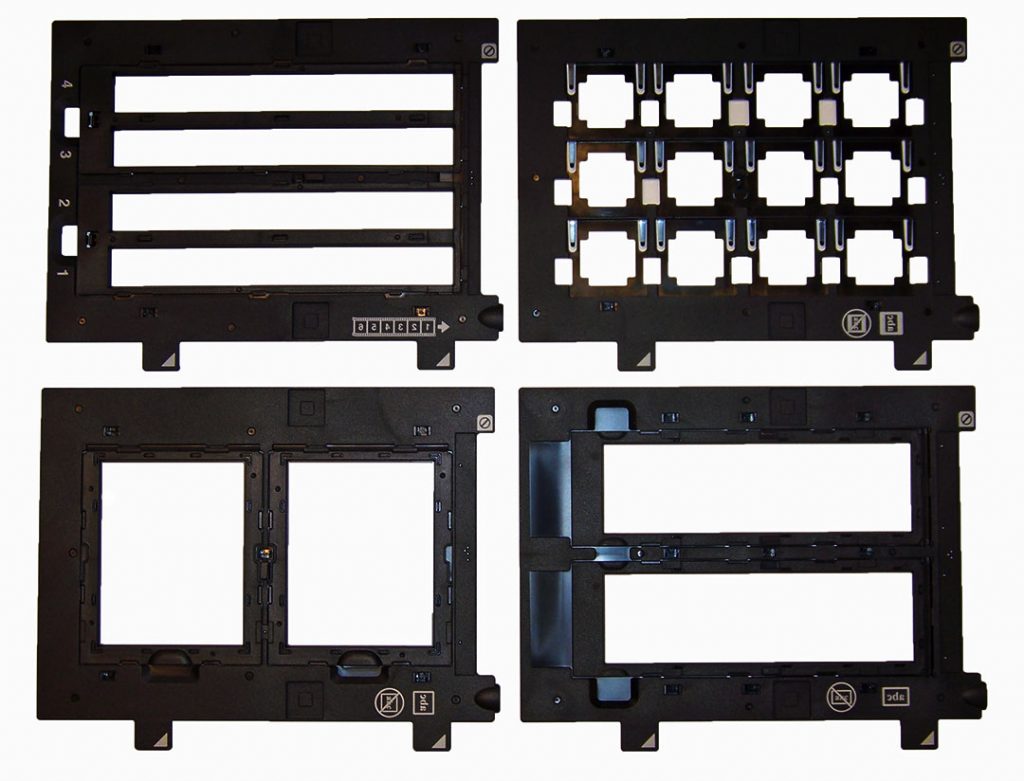
The “letter” on the side of the negative carrier should line up with the same letter on the side of the scanner. Different formats show different letters. Sounds complicated, but it’s not. Anyway, that’s on Epson. I’m sure the others have a similar system to line up the scan. Each scanner has a specific orientation for the negative carrier and is dependent on the film format. Solid orientation, clean and flat negative, and you’re good to go.
I just use the Epson software, and have never seen the need for RIPs and other extraneous software. (Vuescan, Silverfast, etc.) Having experimented with friends RIP setups, I can discern no difference. I think there was a time that it mattered, especially when using Cone and other specialty inks. But I think the big companies probably got the picture, (no pun intended), and adjusted all to work flawlessly with their inks and paper. So, use their inks and paper.
Epson Scan
Epson scan in “Professional” mode allows you to choose the appropriate settings for B+W negative, color negative or a transparency. I set it for 1200 DPI mostly, but will go higher if I’m actually going to print larger. I never use “grayscale”,…just regular old RGB. And I use 24 bit setting. 48 bit is only useful if you are going to do a lot of edits. I NEVER use “Dust Removal”. One, it makes the scan much slower. Two your negative is already “super clean”. (right?) And third, it does NOT work on B+W film. Which is what I mostly do. But, hey,…it’s your call. Next, hit the preview button. That quick preview will confirm everything is lined up and ready to go. After years of working in a “lossless” format of TIFF, I switched to JPG. I can find no difference in print or web, and the files are much easier to work with in JPG.
Editing Softwares – Dodge and Burn
Any photo editing program will do at that point. I use an old 64 bit version of Photoshop CS4. Since I only use curves, dodge and burn, and sometimes deal with a speck of dust, (same as a real darkroom), I don’t need all that fancy schmancy stuff. In fact, Lightroom or Adobe Elements would work fine for most film guys. After all, we don’t want to turn a model into a plastic doll, and we don’t need to “fix it in post”.
You may want to finalize using the following to keep true to the original negative. The same things you did in the darkroom is done in a hybrid workflow using scanners.
1. Adjust contrast to be faithful to your negative and vision.
2. A slight Unsharp Mask to counter the slight deleterious effects of scanning.
3. Healing or Clone brush to “spot” print. DO NOT use the Dust and Scratch removal filter.
4. This is VERY optional: Tone your print. (Sepia, Selenium, etc.) I prefer using the paper to impart warmer or cooler tones.
5. If you’re doing color, you may use the separate channels in curves to adjust or eliminate ‘color casts’.
Last thing I’m going to say about scanners. If you work in Large format, as I said above, make sure the scanner you use has a light source in the lid that is large enough to accommodate the size of the film. Most scanners can only fit up to medium format.
And that’s my “Hybrid Workflow”. A lot of purists will say this seems hard. Well, compared to my experiences in the darkroom, it’s really a piece of cake. Easy peasy. Just remember,…”Cleanliness is next to Godliness.” Although, to be honest, I’ll usually just flatbed scan a print I did in the darkroom for internet stuff. Like the image below. You really don’t need super detailed files for the internet. (the trash dump of imaging 😎)
Now that I’ve gone through all this common knowledge of how you should do things, my advice? If you’re going to scan the film, positive or negative, the real deal is the Noritsu or Fuji SP-500.😁 I have tried and tested almost every workflow above. But,…still do only fiber prints in the darkroom. However, I’ve seen very beautiful giclee’ prints. So, whichever path you travel, know that it’s valid. There’s more than one way to skin a cat.